Page 2 of 3
Re: Super Marauder Restoration, Instalation and tuning. DIY
Posted: Wed 12. Aug 2009, 15:34
by Shelby#18
59lincolnrag wrote:OK ......first things first
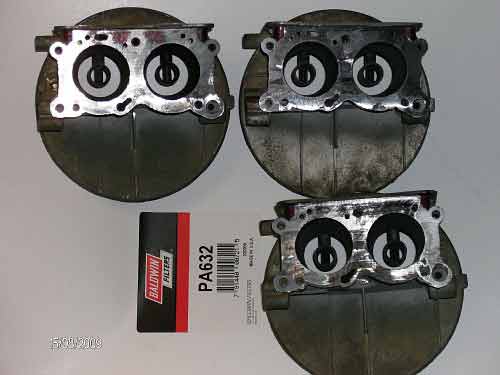
Dont pay a lot for your filters .....$89.00....NO!....$65.00!!! ...NO NO $35.00 ...NO!! $25.00 NO!!!!!

Go to a local truck stop ...They carry Baldwin Filters.....

Check out the site....Super Marauder Air filter IN STOCK!!!

Now you tell us! I paid $30.

And it will be years before I need another.
Re: Super Marauder Restoration, Instalation and tuning. DIY
Posted: Wed 12. Aug 2009, 15:42
by Theo
Good work Anthony.
Also consider the "Part #" section for posts regarding shopping recommendations and part numbers.
Thanks for letting us know.
Re: Super Marauder Restoration, Instalation and tuning. DIY
Posted: Wed 12. Aug 2009, 15:51
by 59lincolnrag
Super Marauder spacers ......
I needed to machine new insulating spacers for a 3 x 2 setup. The old material looks like a brown Bakelite ..It was deteriorated.
McMaster Carr has various grades of phenolic or garolite. I selected G-10 Fiberglass reinforced Industrial laminate ....it is a phenolic material
I also machined 3 aluminum plates …..Thanks Bobby B. (My tool maker)
A stacked arrangement will be installed under each carburetor. .....
gasket, aluminum plate, gasket, insulator and gasket....
That should keep the heat down.....The Garolite can withstand 325 F ........

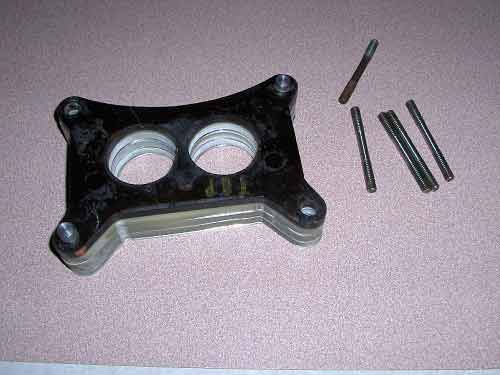
Notice the locating pins .....No magic here. Drill press and band saw. Also three new Stainless studs for the air cleaner.

The Mr Gasket wing nuts look right at home......just a quick mock up...
Re: Super Marauder Restoration, Instalation and tuning. DIY
Posted: Wed 12. Aug 2009, 15:59
by Theo
Anthony, why are you sandwiching those aluminum plates? Is that the way they used to roll off the line? I sure do miss s.th.
Re: Super Marauder Restoration, Instalation and tuning. DIY
Posted: Wed 12. Aug 2009, 16:18
by 59lincolnrag
The picture you see is not what will be under the carb .....
We simply stacked all the materials to cut out everything at once….
From the factory it was a paper gasket the Bakelite insulator another gasket then the carburetor....
So ….for better Insulating qualities.
Paper gasket
Aluminum plate
another gasket
Bakelite insulator
and then another paper gasket
and finally the Carburetor.

So I’m really only adding a thin Aluminum plate to each one. Since our Gasoline seems to evaporate very quickly this seems like a reasonable “fix”.
Re: Super Marauder Restoration, Instalation and tuning. DIY
Posted: Wed 12. Aug 2009, 16:30
by Theo
So you think that the additional aluminum spacers will add to cool the carb? I allways thought that the Gsk. Sp. Gsk. stack was good enough in my car. But hey there ain't no too much cooling as allways in this case.
Nice dokumentation.
Re: Super Marauder Restoration, Instalation and tuning. DIY
Posted: Wed 12. Aug 2009, 16:39
by 59lincolnrag
The center Insulator plate was toast when I pulled things apart.........If you notice the rear carburetor spacer that I used for a template is cracked from the heat....
Re: Super Marauder Restoration, Instalation and tuning. DIY
Posted: Sat 15. Aug 2009, 05:54
by 59lincolnrag
Holley Carburetor Restoration.
The old factory castings Need to be milled true and flat.
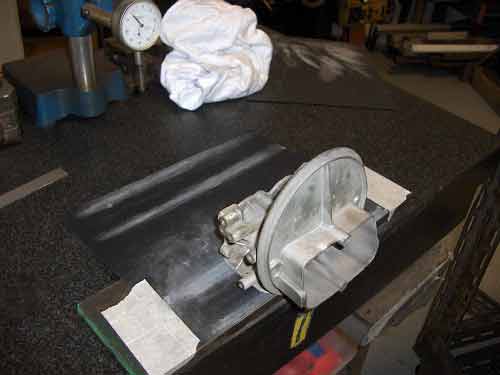
Using a surface plate and 320 grit wet/dry paper carefully sand flat the fuel bowl surface flat.
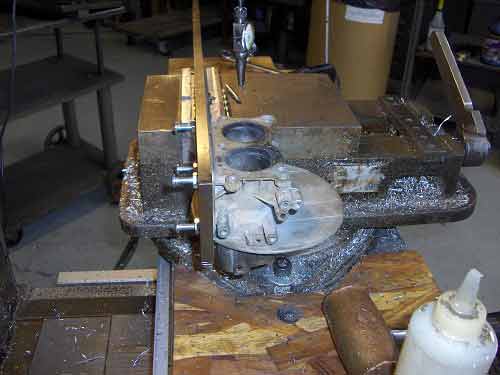
Using a heavy piece of tool steel I made a Fixture to hold the Carburetor body from the true fuel bowl surface at 90 degrees.
Notice the back side gasket surface ......its all blackened ......No wonder the car did not run right.
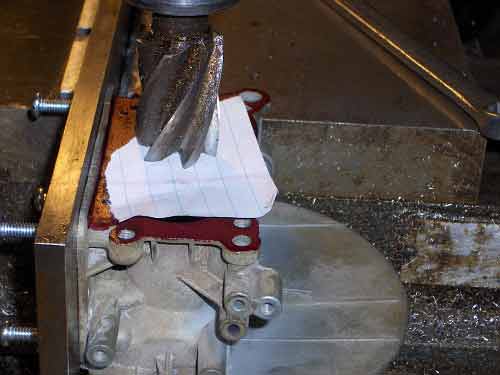
After “bluing” the surface bring down the end mill to with in a few thousandths represented by the piece of paper.
You just want to mill down to get the mating surface flat.
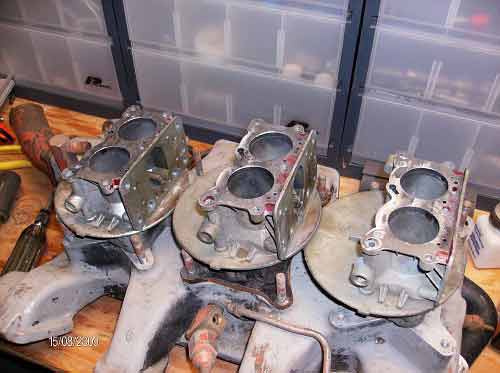
The back side of each carburetor did not sit flush to the throttle plate. If this surface does not bolt up flush with the throttle plate you have an instant vacuum leak.
One unit had to be milled 18 thousandths to get the surface true. The bottom of each unit was warped very badly causing a rough idle condition…..
Re: Super Marauder Restoration, Instalation and tuning. DIY
Posted: Tue 18. Aug 2009, 15:06
by 59lincolnrag
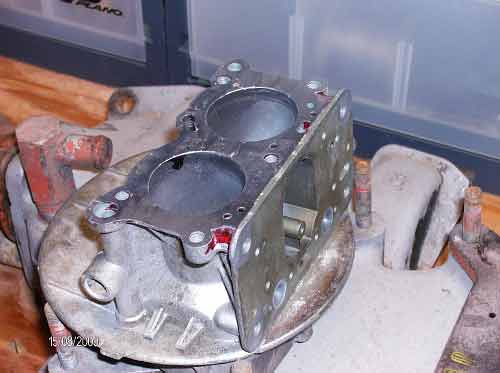
Opps .....An unexpected event ......Theres always something to hold you up .....
A bad or weak casting can give you some real headaches.
I noticed the casting was cracked and a very thin casting wall
How to fix it?
Check out DIY011
Re: DIY010 Super Marauder Restoration, Instalation and tuning
Posted: Sat 22. Aug 2009, 09:59
by 59lincolnrag
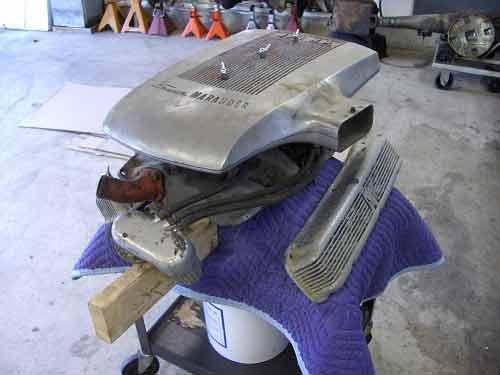
Ok .....Lets "Prep the intake manifold.
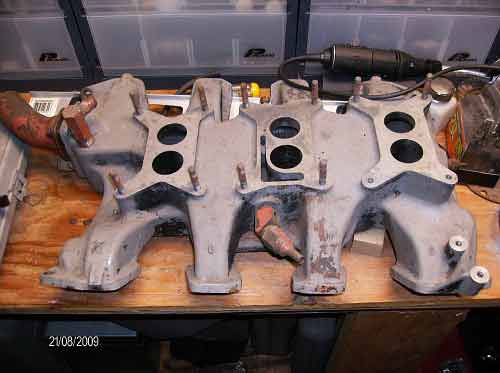
I used a spray on paint remover for the first step.
Then a quick bath to nutralize everything.
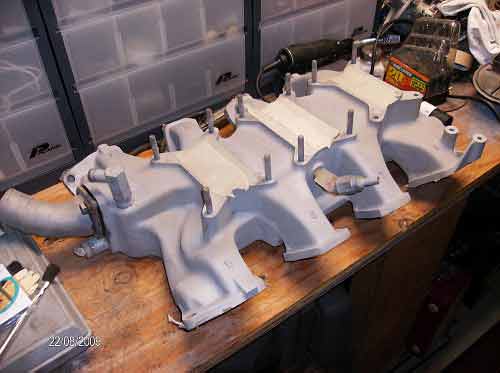
Next a little Media Blast to get a uniform texture.